Explanations and tools you will need to disassemble/reassemble a diecast car
When I was kid, I was a huge fan of diecast cars. These toys are pretty resistant, but over time, painting and moving parts can be damaged (doors, wheels axles). Even though the car cannot be disassembled easily (no screws, but some kind of rivets), I always thougth it can be repaired. But I never found good explanations to do this (which tools, which size for the screws, etc), so here are my instructions to disassemble a diecast car and add a screw to reassemble it.
The car here is a Majorette, but the instructions are the same for other brands.
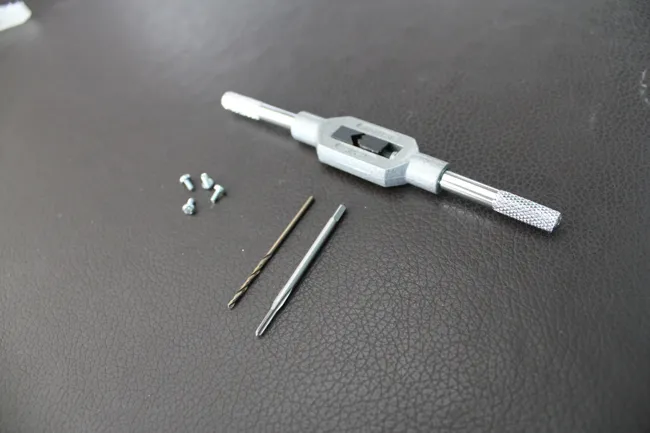
Tools to disassemble and reassemble a diecast car
- a large drill: Ø 4mm
- a tap holder, a M2×0.4mm tap and it’s corresponding Ø 1.6mm drill bit
- a M2×4mm screw and a screwdriver
Figuring by size of Majorette’s rivet stem width, I chose to use Ø 1.6 mm screws. This size matches the M2 size for metric tapping.
What I bought on a French model making tools store (micro-modele.fr):
Steps to disassemble
Remove the car’s bottom
We first need to remove stem’s cap with a drill of same size (Ø 4mm in my case).

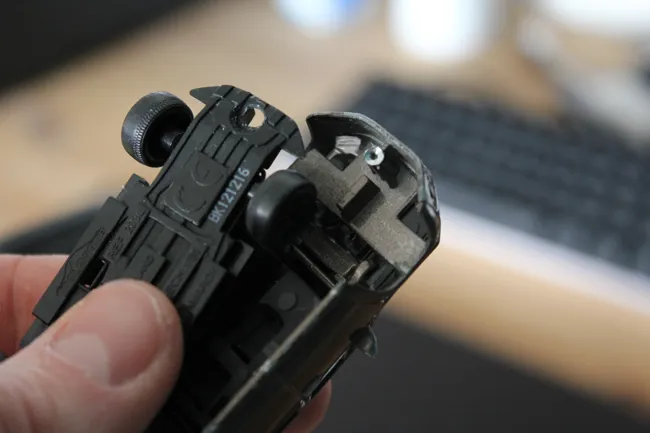
At this point we are able to remove the car’s bottom to repaint the body of the car, untwist the wheel axle or change the wheels.
Then we must put the car’s bottom in its place, and so replace the rivet by a screw.
Drill the stem
We start to gently drill the stem to the desired depth (4mm long screws in my case), with the Ø 1.6mm drill bit.
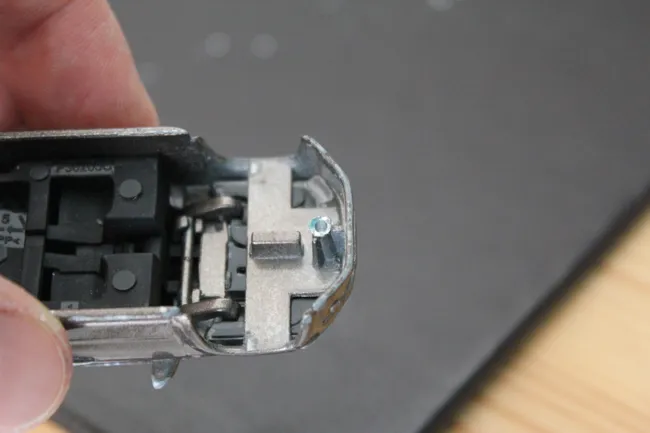
Tap the hole
Then we start to tap the hole with the M2×0.4mm tap. Start with one turn, then unscrew to let the chips come out. Repeat this until you reach the bottom.
Reassemble and screw
Put back the car's bottom and place the screw in the hole. Tighten it gently. Sometimes the screw is longer than the drill hole or the stem is higher than the surface you want to fix: shorten it with a metal file or a Dremel tool.
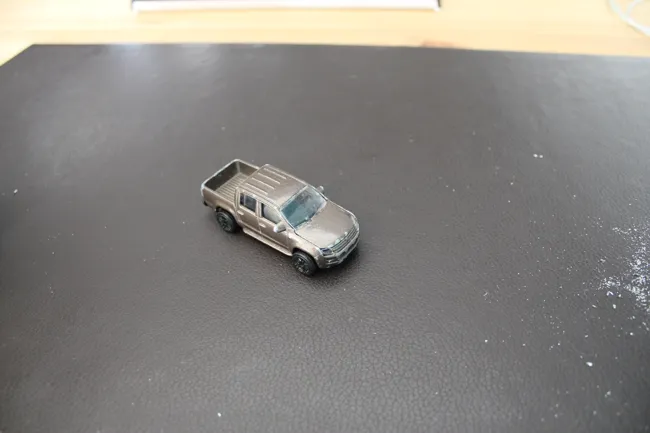
The diecast car is now reassembled and easily disassembled if needed later.